How to Guides
Elevator
To use the elevator press the Call button and follow this guide:
If the outer ring turns solid you may open the door.
Note: You must press the call button to open the door to the elevator even if the elevator is already on your floor. The door will only open when the round, yellow ring around the Call button is lit.
If the Call button lights up that means the elevator is on a different floor but moving to you.
When it arrives on your floor the Call button will begin flashing. Press it again and the ring around the button will turn on, indicating it is OK to open the door.
If the call button flashes a few times and stops this means the inner curtain door (as pictured here) isn’t latched all the way or one of the elevator doors is open.
To correct this, go to each elevator door one at a time and press the Call button. If the ring around it lights up you can open the door and latch the curtain. If the ring doesn’t light up, try another floor.
Note: Flashing a few times then stopping could also mean the elevator is in use at the moment (you can’t ‘queue’ a residential elevator like you can a commercial one).
Grill
To use the built-in grills follow this guide:
Turn the gas timer clockwise to turn on gas to the grill. You can set it as high as 3 hours. If you will be doing longer cooks make sure to check during your cook to ensure gas is not cutoff.
Push the knob for the burner you wish to use and turn counter-clockwise until it clicks and you see the fire is lit. Release the knob.
To adjust cooking temp, simply turn clockwise or counter-clockwise.
When done grilling, turn to high to burn off any food left on the grates, then push the knob in and turn clockwise to the Off position.
The side burner can be started using the same steps listed above for the grill.
Make sure to turn on the gas timer, it’s needed for both the grill and the side burner!
Kitchen tools are provided for the outdoor kitchen.
Please use the wooden grate scraper to clean the grill grates instead of a wire brush.
The kitchen tools are stored in a pot under the outdoor sink.
Please wash and return the tools to the pot when done using.
Cleaning the grease tray is easy! This will allow the grill to operate optimally and avoid flareups.
When the grill is cool, pull out the grease tray beneath the grill as shown in the picture. Clean the tray and replace, simple as that.
Fire Pit
To use the fire pit follow this guide:
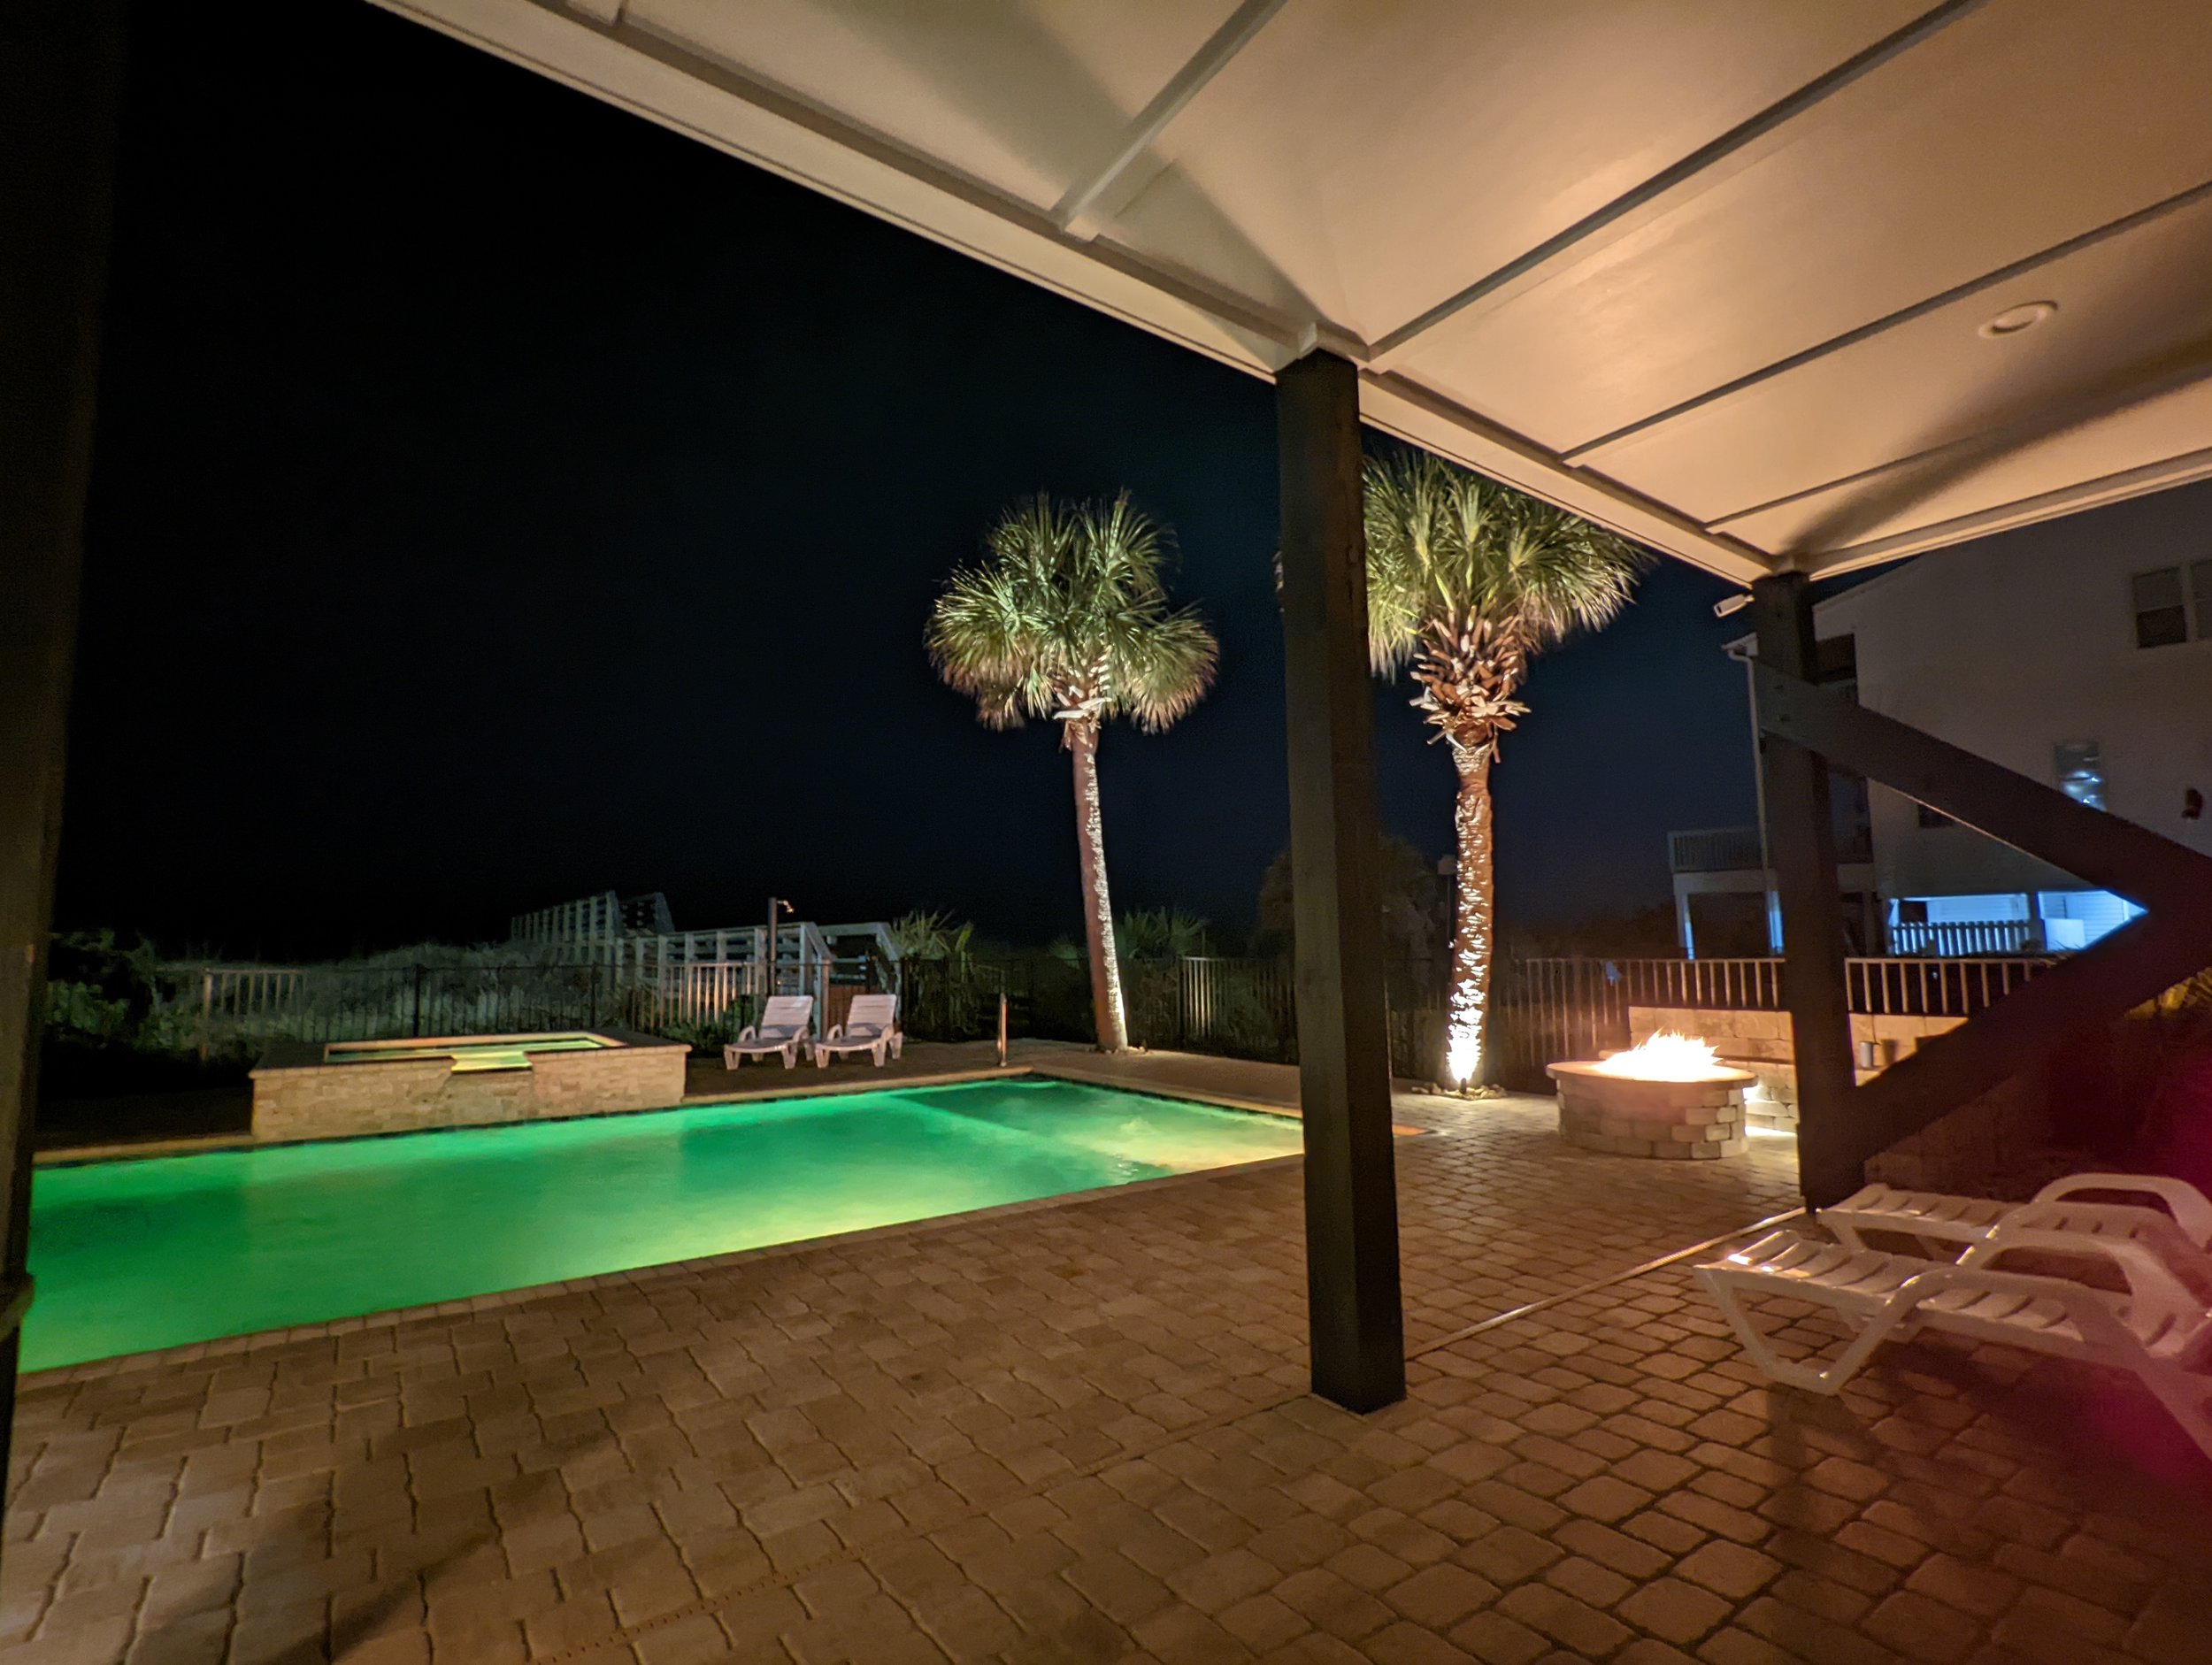
Turn the gas timer clockwise to turn on gas to the fire pit. You can set it as high as 3 hours. If you will be enjoying the fire pit for longer make sure to add time throughout to ensure gas is not cutoff.
Step 1) Turn the knob to the mid-point (Pilot Position) and push in. There is a certain position right in the middle that lets you push in further, find this position, push and hold.
Step 2) Continue holding knob and press the ignitor button and hold for 1 second.
Look for the pilot flame here. If you do not see a pilot flame press the ignitor button for 1 more second. If this fails to light the pilot, please release the knob and wait a minute to allow the gas to dissipate.
Note: You may also light the pilot manually by holding a match where the arrow is pointing in this picture.
Once the pilot light is lit, release the knob and SLOWLY turn counter-clockwise.
This image depicts a normal setting. Note that going to Max may produce flames which extend outside of the firepit so please be careful when using higher settings.
Adjust the knob clockwise or counter-clockwise to your liking.
When done, turn to knob clockwise until the pilot flame is extinguished.
Spa
To use the spa follow this guide:
To use the spa press the ‘Spa Jets’ button on the control panel. Please give the spa 30-60 minutes to warm up completely.
Once warm, press Blower to turn on the spa bubbles. It’s also fine to use the spa without bubbles, whatever you prefer!
When done, just press the Spa Jets button again to turn off the spa. It will also time out automatically if left on for an extended period of time.
Outdoor Kitchen Power & Lighting
If outdoor lighting or appliances, such as the refrigerator, aren’t working something may have tripped a breaker.
To reset the outdoor kitchen breakers, please follow this guide:
Outdoor TV and Outlets
If outdoor TV and outlets around the exterior of the house aren’t working something may have tripped the GFCI outlet.
To reset the outdoor TV GFCI outlet, please follow this guide:
In the laundry room on the main level you will find the main electrical panels for the house.
Locate breaker 23 on the right panel, labeled ‘Outside Receptacles’, and reset if tripped.
Music using Built-in Speakers
Shore is Grand contains ceiling speakers on all floors and outdoor speakers on the ground level.
To play music using these speakers, please follow this guide:
Open the Bluetooth settings on your phone and pair a new device. The Yamaha will be named “R-S202 Yamaha”.
Once paired the Yamaha will display ‘Bluetooth’. You are now paired with this device and can play the music of your choice.
Use the knobs on the walls to control the audio volume for that floor. There is one knob on each floor.


